High resolution AI imaging has had a frustrating tradeoff for a long time. If you wanted sharp, detailed 4K output, you usually had to accept slow processing, heavy models, or results that looked a little too synthetic once you zoomed in. That tradeoff is starting to break.
Nvidia’s PiD, short for Pixel Diffusion, is one of the most impressive open source AI image tools to land in this space. It is fast, lightweight, and capable of producing remarkably crisp 2K and 4K images in seconds. More importantly, it does this while preserving details in a way that feels more coherent than many older upscaling methods.
For Canadian businesses, agencies, content teams, and AI enthusiasts, that matters right now. Whether you are producing product visuals in Toronto, ad creatives in Vancouver, ecommerce assets in Montreal, or digital campaign material anywhere across the country, the economics of image generation change when high quality upscaling becomes this accessible.
PiD is free, open source, and can be run locally with ComfyUI. That means no per-image fees, no cloud dependency, and no waiting on someone else’s platform roadmap. If you have the hardware, you can generate and upscale as much as you want.
Here is what makes PiD special, how it works, where it beats competing methods, and how to set it up for serious AI image production.
What Is Nvidia PiD?
PiD stands for Pixel Diffusion. It is an AI model designed to generate or upscale images directly in pixel space, with a particular strength in producing sharp high resolution results.
The headline feature is simple: PiD can create highly detailed 4K images extremely quickly. In practical use, it can upscale an image in just a few seconds, and in some cases even faster. It is also relatively lightweight compared with many image models, which is a big deal if you are trying to run serious AI workflows on local hardware.
There are really three ways PiD can be used:
- Image upscaling from an existing image to higher resolutions like 2K or 4K
- Generation plus upscaling by pairing another image model such as ZImage or Flux with PiD
- Direct text to image generation using PiD’s own model, though this is the least compelling use case
If your goal is polished, production-ready, high resolution visuals, the first two workflows are the real story.
Why PiD Stands Out in AI Image Upscaling
There are plenty of AI upscalers on the market, but many still struggle with consistency. They may sharpen edges, but then invent texture that does not belong there. They may add detail, but the result can feel unstable, smudged, or overly processed.
PiD’s biggest strength is that its images remain coherent under magnification.
Across a range of examples, the difference is easy to understand:
- Animal fur becomes more defined instead of simply noisier
- City windows and architectural edges become cleaner and more structured
- Portraits gain facial and hair detail without collapsing into artificial texture
- Night sky scenes retain a sharper, cleaner look rather than becoming muddy
That is the difference between an upscaler that merely adds information and one that adds useful visual fidelity.
For commercial teams, this has obvious consequences. Product photography, social creatives, website banners, campaign art, and even concept visuals all benefit from higher resolution, but only if the final image still looks trustworthy. PiD appears to be far more reliable than many legacy approaches in that regard.
How Pixel Diffusion Works
The technical idea behind PiD is part of what makes it so interesting.
Many popular image generators work partly in a compressed representation of the image, often called latent space. In simple terms, the model is not directly crafting every visible pixel at full resolution from the start. It works in a more compact format, and a decoder later turns that information into the image people actually see.
PiD takes a different approach. It performs its denoising work in pixel space. In practice, that lets it use latent information from another model as guidance while refining the image directly at high resolution.
This matters because pixel-level processing can reduce some of the artifacts that show up in more traditional upsampling pipelines. The result is often:
- Sharper edges
- Cleaner fine details
- Better texture consistency
- Fewer strange visual artifacts
That architectural choice is one reason PiD can produce 4K outputs that look more stable and realistic than many alternatives.
PiD vs SeedVR2 and Other Upscaling Methods
One of the most important comparisons here is PiD against SeedVR2, which has been one of the more notable image upscaling options in this category.
Side by side, PiD repeatedly shows three clear advantages.
1. Better detail retention
When zooming into complex scenes, PiD tends to preserve texture and structure more convincingly. Instead of vague edges or blurry surfaces, details remain defined.
2. More faithful output
Some upscalers behave as if they are improvising. They introduce extra texture, alter surfaces, or create visual noise that was never implied by the source image. PiD appears more disciplined. In examples with plush toys, architecture, and natural imagery, it stays closer to the image’s original intent.
3. Significantly better speed
This is where things get especially interesting for real world deployment. PiD can run up to 5.9 times faster than SeedVR2. That is not a small optimization. That is the difference between a workflow that feels experimental and one that feels operational.
For teams producing visual assets at scale, speed is not just convenience. It is throughput. It affects campaign timelines, creative iteration, and the viability of keeping image generation in-house.
And according to comparative results shared with the model, PiD also wins the majority of preference tests against other upscaling methods. Faster and often better is exactly the kind of combination that reshapes adoption.
Why This Matters for Canadian Tech and Business
Canada’s AI story is often framed around research, startups, and policy. But the next phase is operational AI. The real disruption happens when practical tools become good enough and cheap enough to change daily business workflows.
PiD fits that pattern.
For Canadian organizations, especially small and mid-sized businesses, there is enormous value in a free, local, open source image pipeline that can produce premium-looking high resolution output. That includes:
- Marketing teams creating ad assets, social graphics, and product imagery
- Ecommerce brands that need better catalog visuals without expensive reshoots
- Design studios iterating on concepts quickly
- Real estate and architecture firms improving presentation visuals
- Tech startups building launch materials on lean budgets
- Enterprise innovation teams experimenting with local AI production workflows
In hubs like the GTA, where startups and digital agencies are under pressure to move faster while controlling costs, local AI image generation is becoming a strategic capability. PiD lowers the barrier.
This also aligns with a broader trend in Canadian business technology: keeping more AI capability inside the organization. Local models offer advantages around cost control, privacy, workflow customization, and long term independence from third party subscription platforms.
The Three Core PiD Workflows
PiD is most useful when approached through three practical workflows. Each serves a different need.
Workflow 1: Upscale an existing image
This is the strongest and most immediately useful setup.
You start with an image you already have, such as a landscape, portrait, product visual, or AI-generated scene. PiD then upscales that image to a higher target resolution, such as 2K or 4K.
If your team already has images but wants higher quality output for websites, print, presentations, or social campaigns, this workflow is probably the winner.
Workflow 2: Generate with another model, then upscale with PiD
This is where PiD becomes part of a modern image generation pipeline.
You use a stronger base image model such as ZImage, Flux2, FluxKlein, or even Stable Diffusion 3 to create the original image. Then PiD takes that result and pushes it to a much higher resolution.
This pairing works exceptionally well because PiD is not trying to be the best generator from scratch. It is trying to be the best high resolution finisher.
Workflow 3: Text to image with PiD alone
PiD can also generate images directly from a prompt, but this is the least exciting option. The model is small and efficient, but the output quality is not as strong as top image generation models. It also tops out at 1K resolution before any further processing.
For serious results, it makes more sense to use PiD as an upscaler, not as your main creative engine.
Setting Up PiD in ComfyUI
The easiest way to run PiD locally is through ComfyUI, which remains one of the most flexible open source environments for AI image and video workflows.
Before anything else, update ComfyUI to the latest version. This step is essential. Older installs may not load the PiD workflows correctly, and missing compatibility can trigger confusing node errors.
Once ComfyUI is updated, the general setup process looks like this:
- Download the PiD workflow JSON files
- Drag the chosen workflow into ComfyUI
- Install the required models
- Refresh the model list in ComfyUI
- Assign the correct text encoder, diffusion model, and VAE
- Adjust target dimensions and prompt settings
- Run the workflow
The actual installation is not difficult, but there are several model choices that can be confusing at first, especially around formats and latent compatibility.
The Key Models You Need
Gemma 2 text encoder
One required component is the Gemma 2B text encoder. There are multiple versions, including a full precision option and a compressed one.
The compressed FP8 version is smaller and faster, but it may involve a minor quality tradeoff. For many users, that tradeoff is perfectly acceptable if hardware or storage is limited.
PiD upscaler model
This is where selection gets a bit technical.
PiD models are organized by the latent type associated with the base model you are using. If your upstream image comes from ZImage, you choose the PiD model aligned with that latent family. If it comes from Flux2 or Stable Diffusion 3, you choose accordingly.
You will also choose between resolutions such as:
- 512 to 2K
- 1K to 4K
And then between model formats such as:
- BF16 for the fuller model
- MXFP8 for a much smaller compressed version
The MXFP8 option is appealing because it is tiny, but it may only work properly on newer Nvidia 50-series hardware or Blackwell-based GPUs. If you are running older hardware, the BF16 version is the safer choice.
VAE file
A compatible VAE is also needed for some workflows, especially when pairing PiD with ZImage. Once downloaded and selected in ComfyUI, this usually resolves the remaining missing-node issues.
How to Use PiD for Image Upscaling
The simplest and best workflow starts with an existing image.
Upload the image into the PiD upscaler workflow. Then make sure your source dimensions match the model’s intended range. For example, if you are using a model designed to turn a 1024-pixel image into a 4K one, your source image should ideally have its longest side at around 1024 pixels.
Then set the output dimensions manually to match the upscale target. If the longest edge becomes 4096, calculate the second dimension so that the original aspect ratio is preserved.
There is also a text prompt field. Even in an upscaling workflow, a relevant descriptive prompt helps the model stay aligned with the image content. A landscape should be described as a landscape. A portrait should be described as a portrait. The closer the prompt is to the source image, the better the coherence tends to be.
Once everything is selected correctly, the upscale can complete in under ten seconds and often much faster. The result is a visibly sharper image with improved texture, clearer structures, and better fine detail.
A comparison node in ComfyUI can be added to preview the before and after side by side. This is worth doing, especially for production testing, because the gains become obvious when zooming into fur, foliage, buildings, facial features, or small background elements.
How to Pair ZImage With PiD
If you want a more complete AI image pipeline, the most compelling setup is to generate an image with ZImage Turbo first and then send it into PiD.
The workflow is split into two sections:
- The upper section generates the initial image using ZImage
- The lower section upscales that generated image using PiD
This setup requires the ZImage Turbo diffusion model and a compatible text encoder such as Qwen 3 4B. Once those are installed, plus the already-downloaded Gemma and PiD components, the workflow becomes straightforward.
The prompt goes into the green prompt box. Resolution settings should keep the longest side at around 1024 if you plan to use a 1K-to-4K PiD model. Then come the standard generation parameters:
- Seed controls variation across generations
- Steps determine how many denoising iterations are used
- CFG controls prompt adherence
- Sampler and scheduler determine the generation algorithm
For ZImage Turbo specifically, a step count in the 7 to 9 range tends to work well. A CFG value around 1 is also a common sweet spot.
Once the base image is generated, PiD scales it up rapidly. In testing, the base generation can take under ten seconds, and the upscale itself can finish in roughly three seconds. That level of turnaround makes rapid iteration completely realistic.
For creative teams, this is huge. You can generate concepts quickly, choose the one worth keeping, and then upscale only the best candidates to final output quality.
What About PiD’s Own Text to Image Model?
PiD’s direct text to image workflow exists, but it is not where the model shines.
The advantages are clear enough:
- The model is very small
- It runs fast
- It is efficient to install and test
But the downsides are more important:
- Output is limited to 1K resolution
- Image quality is less compelling than ZImage, Flux, or similar leading models
- Visual detail can look a bit artificial or plastic-like
In other words, PiD is not the best all-purpose image generator. It is the best tool in this workflow when used for what it does best: high speed, high quality upscaling.
Hardware Considerations
PiD is lightweight by modern AI standards, but hardware still matters.
Compressed MXFP8 variants may require very recent Nvidia GPUs, especially 50-series or Blackwell-class cards. Older cards can still run the BF16 models, but performance and compatibility may differ.
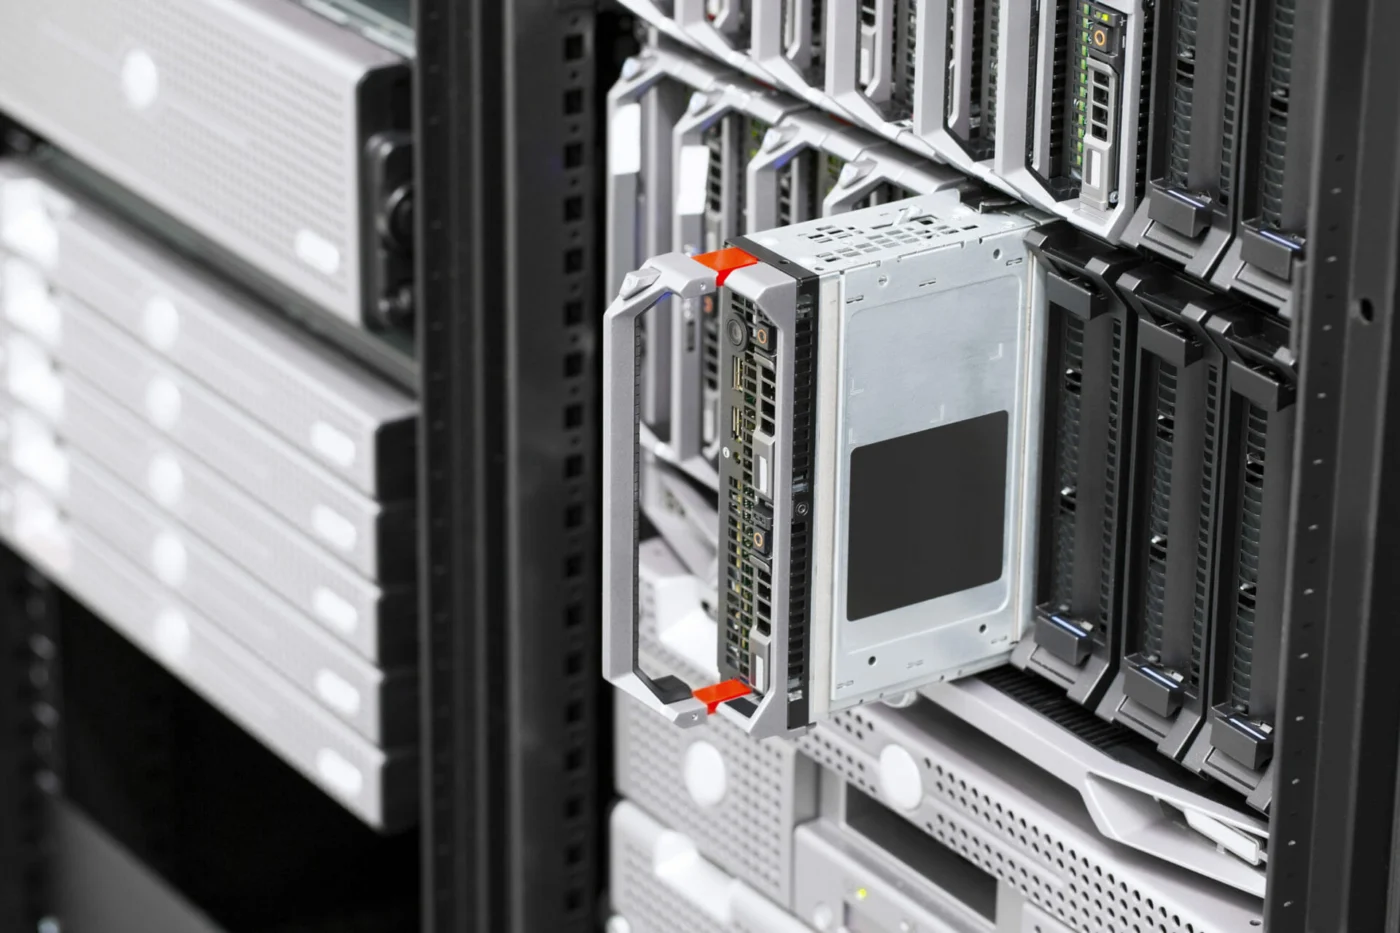
If you are building an internal AI workstation for content operations, this is a practical moment to think strategically. Many Canadian firms are still experimenting with cloud-first AI, but local deployment can be more economical for repeated image generation and upscaling tasks.
A local setup gives you:
- No recurring per-image charges
- Offline capability
- Greater control over models and workflows
- Faster iteration once everything is installed
That is especially attractive for agencies, design teams, and innovation groups producing visual assets every week.
The Bigger Strategic Shift
The real significance of PiD is not just that it makes images sharper. It is that open source AI workflows are becoming commercially useful at a much higher level.
When tools like this were slower, larger, and harder to trust, they were exciting demos. Now they are edging into serious production territory.
That shift is important for Canadian technology leaders. Businesses do not just need to know what the newest AI model can do. They need to know when a tool crosses the line from novelty to operational leverage.
PiD is very close to that line, and in some settings it is already over it.
If your organization creates visual content and has not explored local AI upscaling yet, this is one of the strongest entry points available right now.
Final Verdict: Is PiD the Best AI for 4K Images Right Now?
If the question is specifically about free, open source, fast 4K image upscaling, PiD makes an extremely strong case for the top spot.
It is:
- Fast
- Lightweight
- High quality
- Easy to integrate into ComfyUI workflows
- Better than older leaders in both speed and, often, image fidelity
Its weaknesses are also clear. It is not the most impressive standalone text to image generator, and setup still requires some model management and local hardware awareness.
But used properly, especially with an upstream generator like ZImage, PiD is one of the most effective AI image tools available today.
For Canadian businesses exploring AI-powered creative operations, this is exactly the kind of tool worth testing now, before the rest of the market catches up.
FAQ
What is Nvidia PiD used for?
Nvidia PiD is mainly used for AI image upscaling. Its strongest use case is taking an existing image, or one generated by another model, and converting it into a sharper 2K or 4K version with better detail and fewer artifacts.
Is PiD free and open source?
Yes. PiD is available as an open source model and can be run locally through ComfyUI, which makes it attractive for users who want unlimited use without ongoing platform costs.
Can PiD generate images from text prompts?
Yes, but that is not its best use. PiD includes a direct text to image workflow, but the output is less impressive than leading image generation models like ZImage or Flux. Its real strength is upscaling.
How fast is PiD compared with other AI upscalers?
PiD is significantly faster than older options such as SeedVR2. It can upscale images in seconds and, in some comparative results, performs up to 5.9 times faster while still delivering stronger visual consistency.
What software do I need to run PiD locally?
The recommended environment is ComfyUI. You will also need the correct PiD model, the Gemma text encoder, and in some workflows a compatible VAE and upstream image model such as ZImage Turbo.
Why should Canadian businesses care about PiD?
PiD makes high quality AI imaging more affordable and controllable. For Canadian marketing teams, startups, agencies, and enterprise innovation groups, it offers a practical way to create 4K visuals locally without paying per image or relying entirely on cloud platforms.
What Comes Next?
AI image generation is moving fast, but the winners in business will not be the ones who merely test the newest tools. They will be the ones who build repeatable workflows around them.
PiD is one of those rare releases that feels immediately useful. It is fast enough for production, lightweight enough for local deployment, and strong enough to improve the output of the best image models already in use.
That is the kind of shift Canadian organizations should pay attention to now.
Is your business ready to bring 4K AI image generation in-house?